


Introduction
When a tool like Framer Motion is available, why write many lines of CSS code to create an animation? Web applications look more exciting and beautiful when they are animated.
Many developers avoid adding animation to their web applications since animation codes can be rigorous to write. However, with Framer Motion, you can execute animations with only a few lines of code. This external library in React.js makes animation incredibly simple, allowing the developer to concentrate on other aspects of the project.
In this article, we'll examine Framer Motion's functionality, installation process, and usability by using it to animate text and images.
Prerequisites
To follow along with this tutorial, you need to have:
- A clear understanding of basic frontend technologies, i.e., HTML, CSS, and JavaScript.
- Knowledge of React.JS
- Node Js installed.
What is Framer Motion?
Framer motion is a powerful production-ready library from Framer that can create different animation styles in the DOM as elements. Framer Motion is an excellent alternative to making complex CSS animations. To use Framer Motion, you need to install the library and integrate it into your React project.
Getting started with Framer Motion in React
React requires that we install any external libraries using the npm package before utilizing them. Install Framer motion with the following command.
npm install framer-motion
The next step is to import the Framer Motion component you wish to use into your React app.
NOTE
We are going to break this article into two sections first, the text animation, and second, the image animation. In the end, we will combine both into one React application.
Getting started with text animation
In this section, we'll demonstrate how to use Framer Motion when animating text using the motion components.
Add the following code to your App.js file.
import { motion } from "framer-motion";

function App() {
  return (
    <div className="App">
      <motion.h1
        animate={{ x: [50, 150, 50], opacity: 1, scale: 1 }}
        transition={{
          duration: 5,
          delay: 0.3,
          ease: [0.5, 0.71, 1, 1.5],
        }}
        initial={{ opacity: 0, scale: 0.5 }}
        whileHover={{ scale: 1.2 }}
      >
        Animation made easy with Framer Motion
      </motion.h1>
    </div>
  );
}
export default App;
We imported Framer Motion's motion component. Look closely at the h1 element you will notice how it differs from the standard h1 element.
The first step in using Framer Motion to animate is to use the motion component, which can be used with any standard HTML element.
We will give our text a cool entry animation to show gradually when the page reloads by utilizing the motion component in our h1 and a Framer Motion animate prop to accomplish the animation.
With this approach, we can animate our text to fulfill our desires. First, we assign a position to our text, indicating where the animation will take place. Then we will animate our text on the x-axis. You can set x to have a value of [0, 150, 50].
Next, let's give it an opacity of 1.
We need to assign a scale to the cool entering animation. We don't want anything wild. We can set the scale to 1. So when the text animation reaches scale 1, it stops increasing in size.
Finally, we use the Framer Motion transition prop because every effective animation requires a transition process. We will specify the duration, delay, and ease of our text animation inside this prop. Give it a duration of 5, a delay of 3, and an ease of [0.5, 0.71, 1, 1.01].
The easing shows the scale at which the text animation enters before going to its original scale.
 Text scale entrance animation
However, we don't want to stop with the cool entrance in our text animation. Let's add a beautiful hover effect to our text. When your mouse hovers over it, it will appear to bounce or grow bigger in size.
To accomplish this, we'll use the whileHover prop and scale it to 1.2.
function App() {
    return (
        <div className="App">
            <motion.h1
              ...
                whileHover={{ scale: 1.2 }}
            >
                Animation made easy with Framer Motion
            </motion.h1>
        </div>
    );
}
 Text hover scale animation
Getting started with image animation
In this section, we'll demonstrate how to use Framer Motion when animating images.
First, you need to create an image folder inside the "src" folder to keep your images. For the sake of this project, I used some random images. Feel free to use any image of your choice.
Create an “image.js” file inside the “src” folder and add the following code inside:
import fox from "./images/pexels-fox-1071249.jpg";
import jill from "./images/jill.jpg";
import cha1 from "./images/cha1.jpg";
import cha2 from "./images/cha2.jpg";

export default [fox, jill, cha1, cha2];
We are going to import all our images into the image.js file mentioned above before using them in our App.js file. This will help us avoid redundant importation where we will use these images.
Add the following code to your App.css file.
.item {
  min-height: 10rem;
  min-width: 30rem;
  padding: 5px;
}

.item img {
  width: 60%;
  height: 50%;
  border-radius: 1rem;
  pointer-events: none;
  padding: 15%;
}

.inner-carousel {
  display: flex;
  background: rgb(76, 76, 76);
  height: 23rem;
}

.carousel {
  cursor: grab;
  overflow: hidden;
  background: rgb(215, 216, 215);
  height: 23rem;
}
Change App.js file with the following code:
import { motion } from "framer-motion";
import "./App.css";
import images from "./image";

function App() {
  return (
    <div className="App">
      <motion.div className="carousel">
        <motion.div
          animate={{
            scale: [1, 1, 1, 1, 1],
            rotate: [0, 30, 60, 240, 360],
          }}
        >
          {images.map((image) => {
            return (
              <motion.div
                whileHover={{ scale: 1.2 }}
                whileTap={{ scale: 2 }}
                className="item"
                transition={{ duration: 3 }}
                key={image}
              >
                <img
                  src="https://refine.ams3.cdn.digitaloceanspaces.comundefined"
                  alt="Carousel image placeholder"
                />
              </motion.div>
            );
          })}
        </motion.div>
      </motion.div>
    </div>
  );
}

export default App;
The image animation will take the form of a carousel with spinning effects each time the page is refreshed, hover effects each time the mouse is moved close to them, and tap effects each time the image is touched.
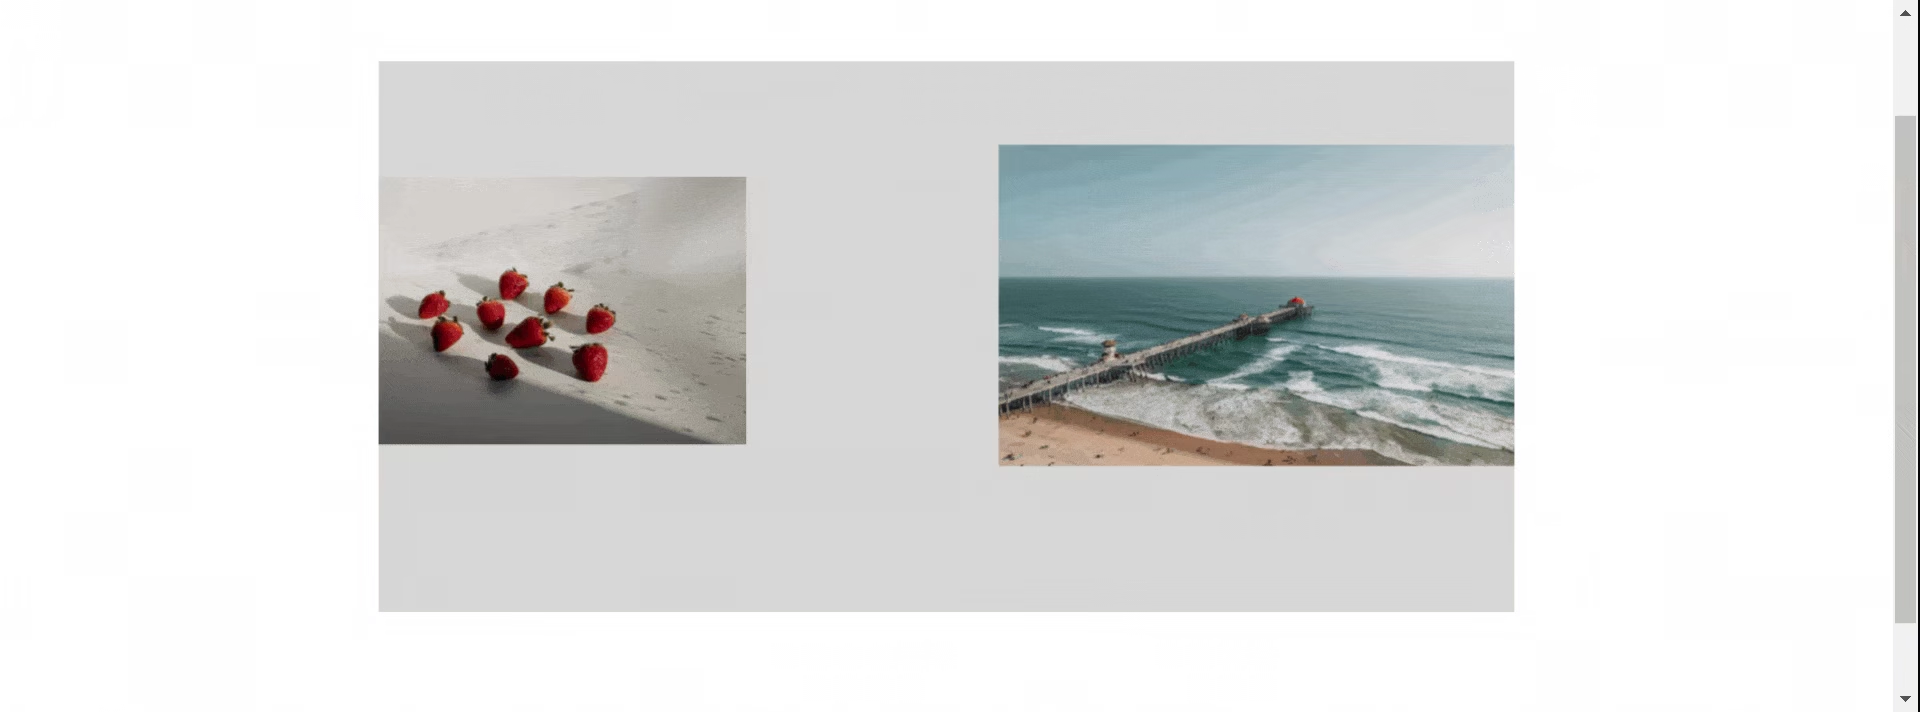
For the carousel, create three containers, one for the outer carousel, one for the inner carousel, and one for the images. All three containers should be created using Framer Motion motion components, one inside the other.
The inner carousel will perform the spinning and sliding effects. The framer motion animate prop will be called in at this point, scaled to [1,1,1,1,1], and rotated to [0,30, 60, 240, 360].
This will give it a unique spinning effect, as you can see below:
 Spinning carousel animation preview
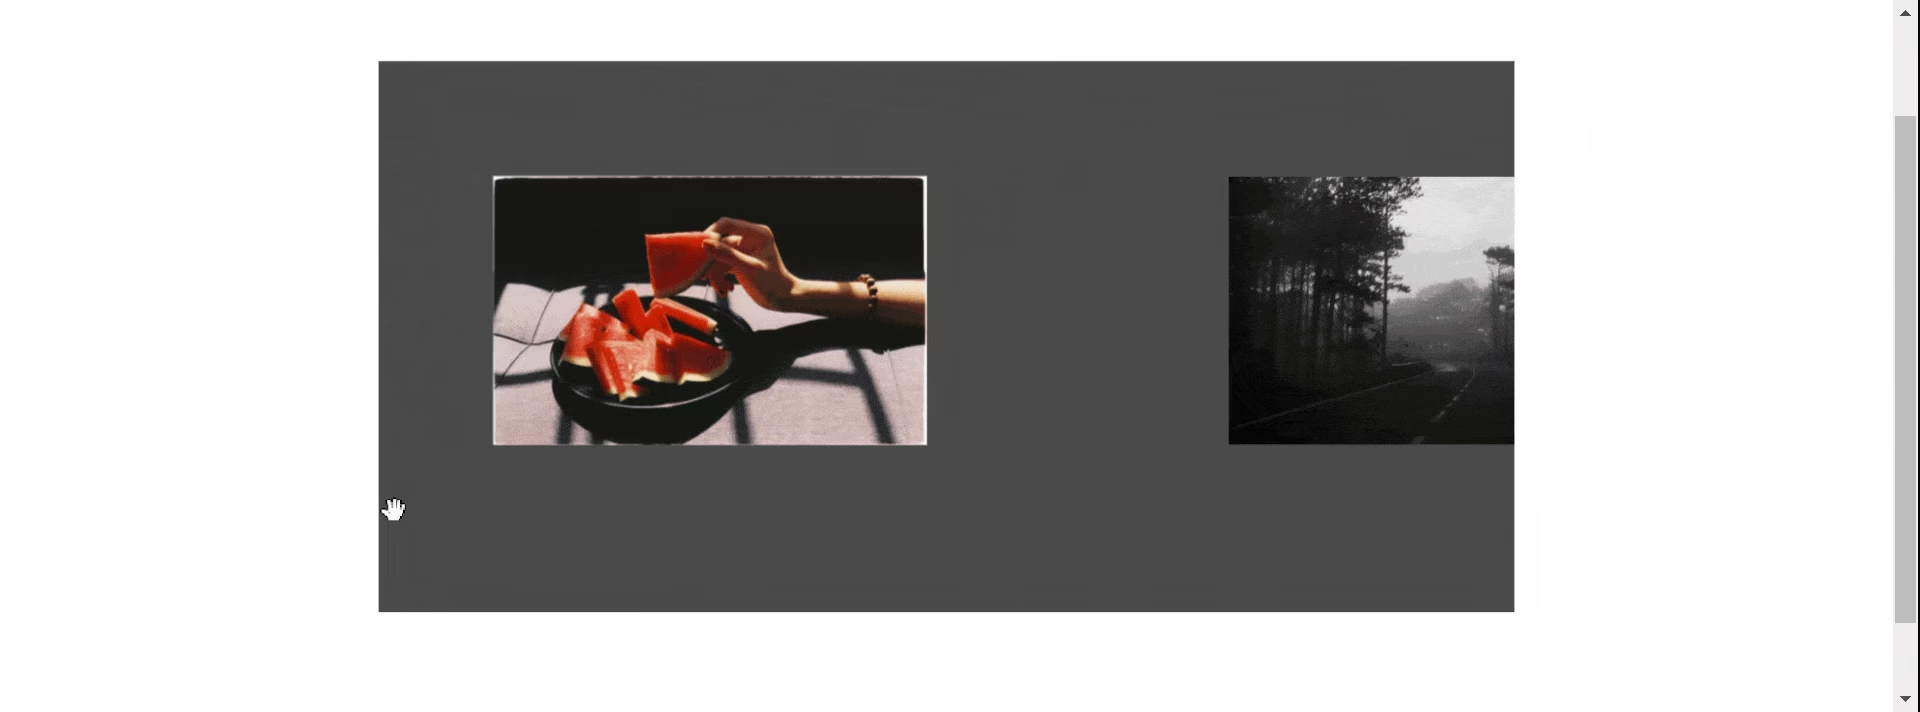
We'll use dragConstraint prop and framer motion drag to give it a carousel-like feel. “X” will be passed as a parameter in the drag prop because we need our carousel to move along the x-axis.
To set a stopper in place, utilize the dragConstraint prop. For our carousel to travel to the left and then return to its previous location, we set the dragConstraint:{ right: 0, left: -1100 }.
It appears too boring to move with just the drag prop and dragConstraint props; instead, let's add a bounce-like effect at each end of the drag. This can be achieved with the drag transition props from Framer Motion.
We'll take advantage of the "bounceStiffner" and "bounceDamping" for drag transition attributes. Give the bounceStiffner and bounceDamping values of 600 and 8, respectively. Finally, we will navigate through our imported images in this container and add each image back to the carousel.
Add highlighted code to App.js
function App() {
    return (
        <div className="App">
            <motion.div className="carousel">
                <motion.div
                   ...
                    drag="x"
                    dragConstraints={{right: 0, left:-1100}}
                    dragTransition={{ bounceStiffness: 600, bounceDamping: 8 }}
                >
                    ...
                </motion.div>
            </motion.div>
        </div>
    );
}
 Carousel scaling animation preview
The last div in the carousel will house the returned images. To create the appropriate animation inside this div, we will use the framer motions whileHover, whileTap, and a transition prop.
Use the framer motion whileHover with a scale of 1.2 to give our image a nice hover effect. When your mouse is over an image, it will only scale up to this maximum.
Then, by giving the whileTap prop a scale of 2, we will give our images a tap effect so that they bounce when we tap on them. We must define a transition duration so that hovering and tapping become more engaging. Let's choose 3 seconds as the duration.
function App() {
   return (
       <div className="App">
           <motion.div className="carousel">
               <motion.div>
                   {images.map((image) => {
                       return (
                           <motion.div
                               ...
                               whileHover={{ scale: 1.2 }}
                               whileTap={{ scale: 2 }}
                           >
                               <img src="https://refine.ams3.cdn.digitaloceanspaces.comundefined" alt="Carousel image placeholder" />
                           </motion.div>
                       );
                   })}
               </motion.div>
           </motion.div>
       </div>
   );
}
 Hover and tap scaling effect
Contrary to ordinary CSS, we can see that framer motion enabled the above animation to be created quickly and with a few lines of code. Some programmers like to use their own animation with raw CSS, but if you're like me and prefer a simpler solution, you can use Framer Motion for your animation.
You can access the app here

Conclusion
This article taught us how to use Framer Motion to create a simple text and image animation for a React application. Compared to regular CSS, we saw how easy it is to implement these animations with a few lines of code. We also saw how to use some Framer Motion components and props. Framer Motion has other powerful features we didn't cover in this article. You should check them out. I hope this article becomes valuable to you.