
CAUTION
This post was created using version 3.x.x of Refine. Although we plan to update it with the latest version of Refine as soon as possible, you can still benefit from the post in the meantime.
You should know that Refine version 4.x.x is backward compatible with version 3.x.x, so there is no need to worry. If you want to see the differences between the two versions, check out the migration guide.
Refine is a headless React internal tool framework. It helps you develop quickly while developing both B2B and B2C applications. While speeding you up, it is never restricted and has a fully customizable structure.
Key features
🔥 Headless : Works with any UI framework
⚙️ Zero-configuration : One-line setup with superplate. It takes less than a minute to start a project.
📦 Out-of-the-box : Routing, networking, authentication, state management, i18n and UI.
🔌 Backend Agnostic : Connects to any custom backend. Built-in support for REST API, GraphQL, NestJs CRUD, Airtable, Strapi, Strapi v4, Strapi GraphQL, Supabase, Hasura, Medusa, Appwrite, and Firebase.
📝 Native Typescript Core : You can always opt out for plain JavaScript.
🐜 Enterprise UI : Works seamlessly with Ant Design. (Support for multiple UI frameworks is on the Roadmap)
📝 Boilerplate-free Code : Keeps your codebase clean and readable.
You can use it with any UI library you want without any problems. Also, Ant Design as out-of-the-box is supported.
Refine directly provides Ant Design components and some hooks to work with those components. These hooks give you the required props for those Ant Design components.


Refine Advanced Tutorial
This article will proceed through Refine's Refine Basic Tutorial. That's why I suggest you read the basic tutorial of refine.
In this tutorial, we will learn how to include the features(i18n, Realtime, Access Control) provided by the Refine in our project and how we can use it.
Create Refine Project
Let's start by creating our Refine project. You can use the superplate to create a Refine project.
npm create refine-app@latest refine-advanced-tutorial -- -p refine-react -b v3
✔ What will be the name of your app › refine-advanced-tutorial

✔ Package manager: · Npm

✔ Do you want to use a UI Framework?: · Ant Design

✔ Do you want a customized layout?: · Default theme

✔ Router Provider: · React Router v6

✔ Data Provider: · REST API

✔ Auth Provider: · None

✔ Do you want to add example pages? · Yes (Recommended)

✔ Do you want a customized layout? · No

✔ i18n - Internationalization: · No
✔ Do you want to add example pages? ·Yes (Recommended) By selecting you can view the tutorial in your local.
cd refine-advanced-tutorial

npm run dev
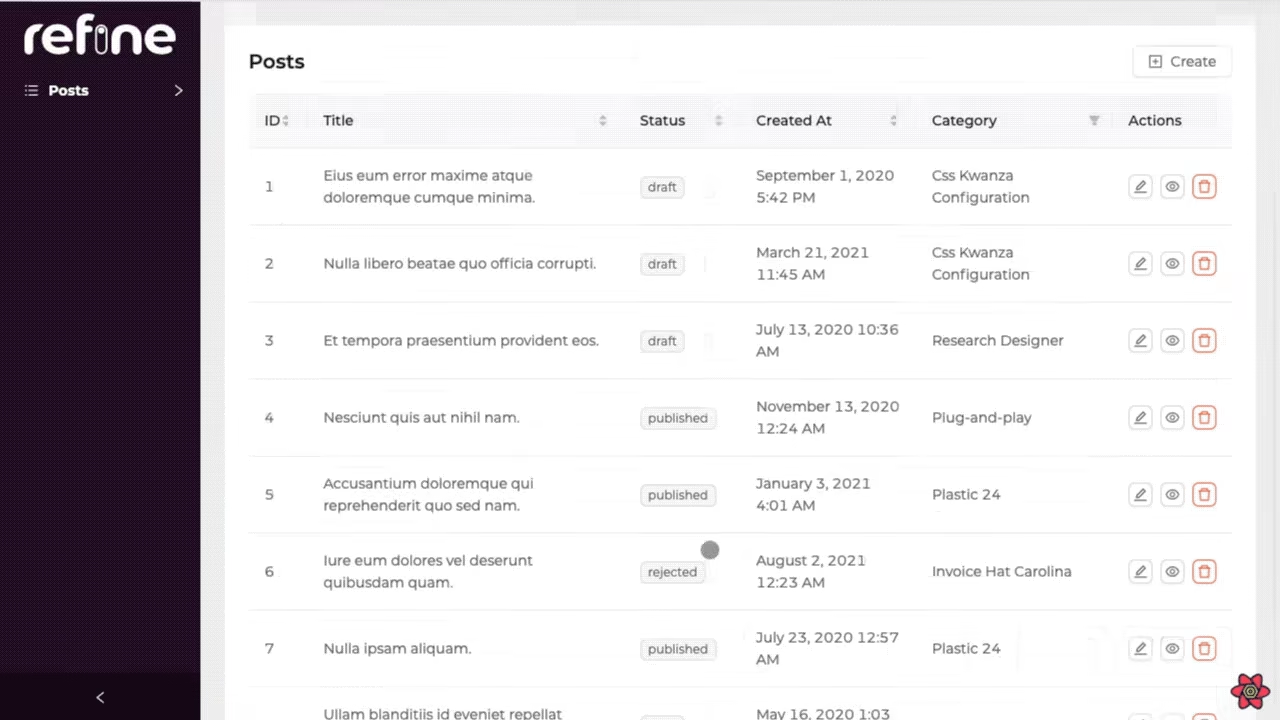 Refine tutorial app initial view
As you have seen, our example project is ready. Now let's examine how the features offered by Refine are included in a project and how they are used.
Adding i18n Provider to Your Project
Create i18n Instance
First, we will create an i18n instance using react-i18next.
import i18n from "i18next";
import { initReactI18next } from "react-i18next";
import Backend from "i18next-xhr-backend";
import detector from "i18next-browser-languagedetector";

i18n
  .use(Backend)
  .use(detector)
  .use(initReactI18next)
  .init({
    supportedLngs: ["en", "de"],
    backend: {
      loadPath: "/locales/{{lng}}/{{ns}}.json",
    },
    defaultNS: "common",
    fallbackLng: ["en", "de"],
  });

export default i18n;
Let's import the i18n instance we created in index.tsx. Then let's wrap the App in React.Suspense.
import React from "react";
import { createRoot } from "react-dom/client";

import App from "./App";
import "./i18n";

const container = document.getElementById("root");
const root = createRoot(container!);
root.render(
  <React.StrictMode>
    <React.Suspense fallback="loading">
      <App />
    </React.Suspense>
  </React.StrictMode>,
);
Let's define our i18n provider and give it a Refine.
import { Refine } from "@refinedev/core";
import { useNotificationProvider, Layout } from "@refinedev/antd";
import routerProvider from "@refinedev/react-router-v6";
import dataProvider from "@refinedev/simple-rest";

import "@refinedev/antd/dist/reset.css";

import { PostList, PostCreate, PostEdit, PostShow } from "pages/posts";
import { useTranslation } from "react-i18next";

function App() {
  const { t, i18n } = useTranslation();

  const i18nProvider = {
    translate: (key: string, params: object) => t(key, params),
    changeLocale: (lang: string) => i18n.changeLanguage(lang),
    getLocale: () => i18n.language,
  };

  return (
    <Refine
      routerProvider={routerProvider}
      notificationProvider={useNotificationProvider}
      Layout={Layout}
      dataProvider={dataProvider("https://api.fake-rest.refine.dev")}
      resources={[
        {
          name: "posts",
          list: PostList,
          create: PostCreate,
          edit: PostEdit,
          show: PostShow,
        },
      ]}
      i18nProvider={i18nProvider}
    />
  );
}

export default App;
Now let's add our own translation. Let's create two separate json files in English and German.
{
  "posts": {
    "posts": "Posts",
    "fields": {
      "id": "Id",
      "title": "Title",
      "category": "Category",
      "status": {
        "title": "Status",
        "published": "Published",
        "draft": "Draft",
        "rejected": "Rejected"
      },
      "content": "Content",
      "createdAt": "Created At"
    },
    "titles": {
      "create": "Create Post",
      "edit": "Edit Post",
      "list": "Posts",
      "show": "Show Post"
    }
  },
  "table": {
    "actions": "Actions"
  }
}
{
  "posts": {
    "posts": "Einträge",
    "fields": {
      "id": "Id",
      "title": "Title",
      "category": "Kategorie",
      "status": {
        "title": "Status",
        "published": "Veröffentlicht",
        "draft": "Draft",
        "rejected": "Abgelehnt"
      },
      "content": "Inhalh",
      "createdAt": "Erstellt am"
    },
    "titles": {
      "create": "Erstellen",
      "edit": "Bearbeiten",
      "list": "Einträge",
      "show": "Eintrag zeigen"
    }
  },
  "table": {
    "actions": "Aktionen"
  }
}
In this article, we have included the translation of only a small part as an example.
Now, let's create a select component in the header and examine our posts according to the language we have chosen.
import { useGetLocale, useSetLocale } from "@refinedev/core";
import {
  AntdLayout,
  Space,
  Menu,
  Button,
  Icons,
  Dropdown,
} from "@refinedev/antd";
import { useTranslation } from "react-i18next";

const { DownOutlined } = Icons;

export const Header: React.FC = () => {
  const { i18n } = useTranslation();
  const locale = useGetLocale();
  const changeLanguage = useSetLocale();

  const currentLocale = locale();

  const menu = (
    <Menu selectedKeys={[currentLocale]}>
      {[...(i18n.languages || [])].sort().map((lang: string) => (
        <Menu.Item key={lang} onClick={() => changeLanguage(lang)}>
          {lang === "en" ? "English" : "German"}
        </Menu.Item>
      ))}
    </Menu>
  );

  return (
    <AntdLayout.Header
      style={{
        display: "flex",
        justifyContent: "flex-end",
        alignItems: "center",
        padding: "0px 24px",
        height: "48px",
        backgroundColor: "#FFF",
      }}
    >
      <Dropdown overlay={menu}>
        <Button type="link">
          <Space>
            {currentLocale === "en" ? "English" : "German"}
            <DownOutlined />
          </Space>
        </Button>
      </Dropdown>
    </AntdLayout.Header>
  );
};
Let's define the header we created within the refine.
return (
  <Refine
    routerProvider={routerProvider}
    notificationProvider={useNotificationProvider}
    Layout={Layout}
    i18nProvider={i18nProvider}
    dataProvider={dataProvider("https://api.fake-rest.refine.dev")}
    Header={Header}
    resources={[
      {
        name: "posts",
        list: PostList,
        create: PostCreate,
        edit: PostEdit,
        show: PostShow,
      },
    ]}
  />
);
Now our i18n Provider is ready to use, let's test it together.
 Refine i18n provider language selector
Use the translation with Table Content
import {
  useTranslate,
  useMany,
} from "@refinedev/core";
import {
  List,
  Table,
  TextField,
  useTable,
  Space,
  EditButton,
  ShowButton,
} from "@refinedev/antd";

import { IPost, ICategory } from "interfaces";

export const PostList: React.FC = () => {
  const translate = useTranslate();
  const { tableProps } = useTable<IPost>();

  const categoryIds =
    tableProps?.dataSource?.map((item) => item.category.id) ?? [];
  const { data, isLoading } = useMany<ICategory>({
    resource: "categories",
    ids: categoryIds,
    queryOptions: {
      enabled: categoryIds.length > 0,
    },
  });

  return (
    <List>
      <Table {...tableProps} rowKey="id">
        <Table.Column dataIndex="id" title="ID" />
        <Table.Column
          dataIndex="title"
          title={translate("posts.fields.title")}
        />
        <Table.Column
          dataIndex={["category", "id"]}
          title={translate("posts.fields.category")}
          render={(value) => {
            if (isLoading) {
              return <TextField value="Loading..." />;
            }

            return (
              <TextField
                value={data?.data.find((item) => item.id === value)?.title}
              />
            );
          }}
        />
        <Table.Column<IPost>
          title={translate("table.actions")}
          dataIndex="actions"
          key="actions"
          render={(_value, record) => (
            <Space>
              <EditButton size="small" recordItemId={record.id} />
              <ShowButton size="small" recordItemId={record.id} />
            </Space>
          )}
        />
      </Table>
    </List>
  );
};
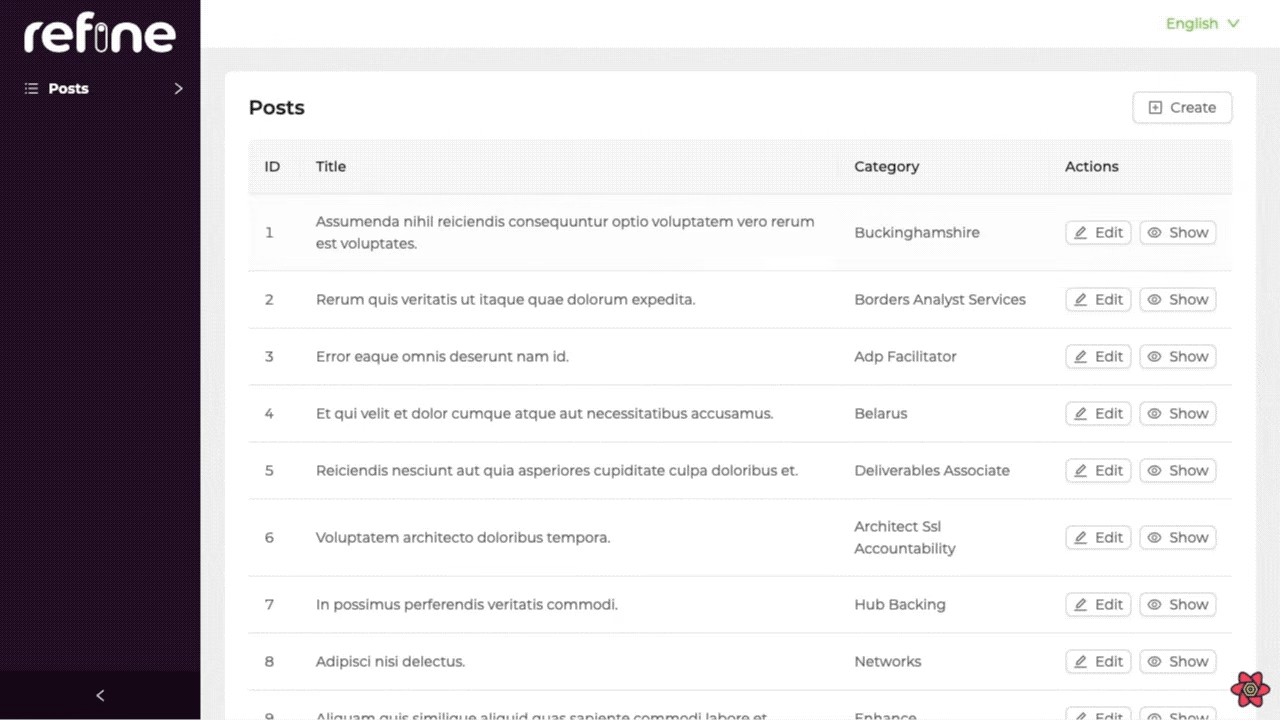 Data table with i18n translated labels
You can add the translation you want and organize your content according to different languages together with the Refine i18n Provider.
Check out Refine i18n Provider for more detailed information and step-by-step guide
Add Live Provider(Realtime) to Your Project with Refine
Refine lets you add Realtime support to your app via liveProvider prop for <Refine>. It can be used to update and show data in Realtime throughout your app.
Now let's make our application Realtime using the Refine Live Provider
We will using Ably in this article to provide Realtime features.
Installation
We need to install Ably live provider package from refine.
npm install @refinedev/ably
First, let's create ably-client and define our Ably API key.
import { Ably } from "@refinedev/ably";

export const ablyClient = new Ably.Realtime("YOUR_ABLY_API_KEY");
Then pass liveProvider from @refinedev/ably to <Refine>.
import { Refine } from "@refinedev/core";
import { useNotificationProvider, Layout } from "@refinedev/antd";
import routerProvider from "@refinedev/react-router-v6";
import dataProvider from "@refinedev/simple-rest";
import { liveProvider } from "@refinedev/ably";
import { ablyClient } from "utility";

import "@refinedev/antd/dist/reset.css";

import { PostList, PostCreate, PostEdit, PostShow } from "pages/posts";
import { Header } from "./components/header";
import { useTranslation } from "react-i18next";

function App() {
  const { t, i18n } = useTranslation();

  const i18nProvider = {
    translate: (key: string, params: object) => t(key, params),
    changeLocale: (lang: string) => i18n.changeLanguage(lang),
    getLocale: () => i18n.language,
  };

  return (
    <Refine
      routerProvider={routerProvider}
      notificationProvider={useNotificationProvider}
      Layout={Layout}
      i18nProvider={i18nProvider}
      dataProvider={dataProvider("https://api.fake-rest.refine.dev")}
      Header={Header}
      liveProvider={liveProvider(ablyClient)}
      options={{ liveMode: "auto" }}
      resources={[
        {
          name: "posts",
          list: PostList,
          create: PostCreate,
          edit: PostEdit,
          show: PostShow,
        },
      ]}
    />
  );
}

export default App;
You can configure liveMode, this example use "auto" mode.
Check out Refine Live Provider for more detailed information and step-by-step guide.
Our project is now Realtime! Thanks to Refine Live Provider, we made our project Realtime by adding only 2 lines.
Let's see how our RealTime Project works.
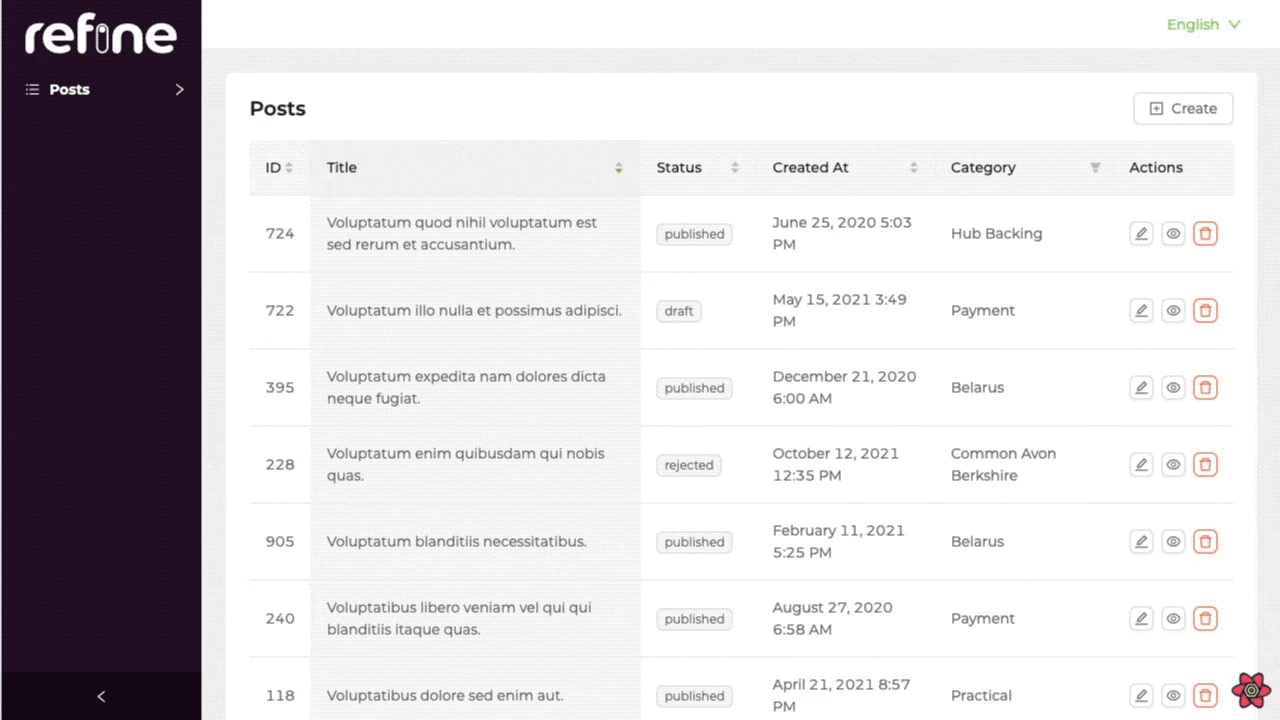
 Real-time data updates demonstration
Add Access Control to Your Project with Refine
You can control your project as you wish with the Refine react admin framework. Now let's add Access Control Provider to our Refine project.
Access control is a broad topic where there are lots of advanced solutions that provide different set of features. Refine is deliberately agnostic for its own API to be able to integrate different methods (RBAC, ABAC, ACL, etc.) and different libraries (Casbin, CASL, Cerbos, AccessControl.js). can method would be the entry point for those solutions.
Refer to the Access Control Provider documentation for detailed information. →
Let's create two Roles, Admin and Editor. Admin have full CRUD authority on the posts. The Editor role, on the other hand, only has the authority to create and edit new posts. In other words, the person in the editor role cannot delete the posts and cannot view all the rows on the table.
Let's start by creating two buttons for the Admin and Editor roles in our created Header Component.
import { useGetLocale, useSetLocale } from "@refinedev/core";
import {
  AntdLayout,
  Space,
  Menu,
  Button,
  Icons,
  Dropdown,
  Radio,
} from "@refinedev/antd";
import { useTranslation } from "react-i18next";

const { DownOutlined } = Icons;

interface HeaderProps {
  role: string;
}

export const Header: React.FC<HeaderProps> = ({ role }) => {
  const { i18n } = useTranslation();
  const locale = useGetLocale();
  const changeLanguage = useSetLocale();

  const currentLocale = locale();

  const menu = (
    <Menu selectedKeys={[currentLocale]}>
      {[...(i18n.languages || [])].sort().map((lang: string) => (
        <Menu.Item key={lang} onClick={() => changeLanguage(lang)}>
          {lang === "en" ? "English" : "German"}
        </Menu.Item>
      ))}
    </Menu>
  );

  return (
    <AntdLayout.Header
      style={{
        display: "flex",
        justifyContent: "space-between",
        alignItems: "center",
        padding: "0px 24px",
        height: "48px",
        backgroundColor: "#FFF",
      }}
    >
      <Radio.Group
        value={role}
        onChange={(event) => {
          localStorage.setItem("role", event.target.value);
          location.reload();
        }}
      >
        <Radio.Button value="admin">Admin</Radio.Button>
        <Radio.Button value="editor">Editor</Radio.Button>
      </Radio.Group>
      <Dropdown overlay={menu}>
        <Button type="link">
          <Space>
            {currentLocale === "en" ? "English" : "German"}
            <DownOutlined />
          </Space>
        </Button>
      </Dropdown>
    </AntdLayout.Header>
  );
};
 Access control disabled edit button
In this article, we will use Cerbos to Refine Access Control.
npm install cerbos
After the installation is complete, let's create a Cerbos object in the App.tsx file and define it in <Refine>.
import { Cerbos } from "cerbos";

const cerbos = new Cerbos({
  hostname: "https://demo-pdp.cerbos.cloud", // The Cerbos PDP instance
  playgroundInstance: "WS961950bd85QNYlAvTmJYubP0bqF7e3", // The playground instance ID to test
});
<Refine
  routerProvider={routerProvider}
  notificationProvider={useNotificationProvider}
  Layout={Layout}
  i18nProvider={i18nProvider}
  dataProvider={dataProvider("https://api.fake-rest.refine.dev")}
  Header={() => <Header role={role} />}
  liveProvider={liveProvider(ablyClient)}
  options={{ liveMode: "auto" }}
  accessControlProvider={{
    can: async ({ action, params, resource }) => {
      const cerbosPayload = {
        principal: {
          id: "demoUser", // Fake a user ID
          roles: [role],
          attr: {},
        },
        resource: {
          kind: resource,
          instances: {
            [params?.id || "new"]: {
              attr: params,
            },
          },
        },
        actions: [action],
      };
      const result = await cerbos.check(cerbosPayload);
      return Promise.resolve({
        can: result.isAuthorized(params?.id || "new", action),
      });
    },
  }}
  resources={[
    {
      name: "posts",
      list: PostList,
      create: PostCreate,
      edit: PostEdit,
      show: PostShow,
      canDelete: true,
    },
  ]}
/>
We will perform our actions according to the role we choose from the header. As you can see above, we set this with the access Control Provider can method.
Now using the Refine useCanhook Let's perform operations according to roles within our list.
import {
  useMany,
  useTranslate,
  useCan,
} from "@refinedev/core";

import {
  List,
  Table,
  TextField,
  useTable,
  Space,
  EditButton,
  ShowButton,
  FilterDropdown,
  useSelect,
  Select,
  Radio,
  TagField,
  NumberField,
} from "@refinedev/antd";

import { IPost, ICategory } from "interfaces";

export const PostList = () => {
  const translate = useTranslate();
  const { result } = useTable<IPost>();

  const categoryIds = result?.data?.map((item) => item.category.id) ?? [];
  const { result, isLoading } = useMany<ICategory>({
    resource: "categories",
    ids: categoryIds,
    queryOptions: {
      enabled: categoryIds.length > 0,
    },
  });

  const { selectProps: categorySelectProps } = useSelect<ICategory>({
    resource: "categories",
    optionLabel: "title",
    optionValue: "id",
  });

  const { data: canAccess } = useCan({
    resource: "posts",
    action: "field",
    params: { field: "hit" },
  });

  return (
    <List>
      <Table {...tableProps} rowKey="id">
        <Table.Column dataIndex="id" title="ID" />
        <Table.Column
          dataIndex="title"
          title={translate("posts.fields.title")}
        />
        <Table.Column
          dataIndex={["category", "id"]}
          title={translate("posts.fields.category")}
          render={(value) => {
            if (isLoading) {
              return <TextField value="Loading..." />;
            }

            return (
              <TextField
                value={result?.data.find((item) => item.id === value)?.title}
              />
            );
          }}
          filterDropdown={(props) => (
            <FilterDropdown {...props}>
              <Select
                style={{ minWidth: 200 }}
                mode="multiple"
                placeholder="Select Category"
                {...categorySelectProps}
              />
            </FilterDropdown>
          )}
        />
        {canAccess?.can && (
          <Table.Column
            dataIndex="hit"
            title="Hit"
            render={(value: number) => (
              <NumberField
                value={value}
                options={{
                  notation: "compact",
                }}
              />
            )}
          />
        )}
        <Table.Column
          dataIndex="status"
          title="Status"
          render={(value: string) => <TagField value={value} />}
          filterDropdown={(props: any) => (
            <FilterDropdown {...props}>
              <Radio.Group>
                <Radio value="published">Published</Radio>
                <Radio value="draft">Draft</Radio>
                <Radio value="rejected">Rejected</Radio>
              </Radio.Group>
            </FilterDropdown>
          )}
        />
        <Table.Column<IPost>
          title={translate("table.actions")}
          dataIndex="actions"
          render={(_, record) => (
            <Space>
              <EditButton hideText size="small" recordItemId={record.id} />
              <ShowButton hideText size="small" recordItemId={record.id} />
            </Space>
          )}
        />
      </Table>
    </List>
  );
};
Here, if the selected role is Admin, the 'Hit' section will appear in our Table. We have stated that the Editor role cannot display this section.
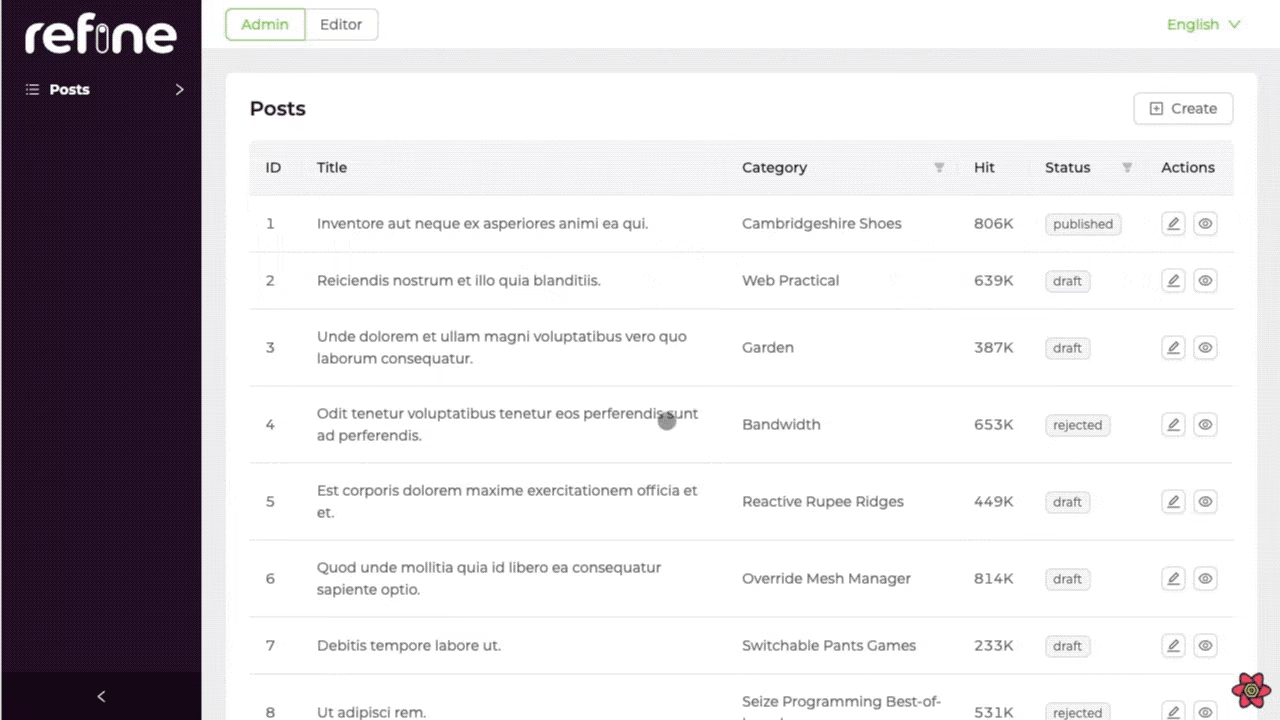 Access control provider in action
Check out Refine Access Control Provider for more detailed information and step-by-step guide
Conclusion
In this tutorial, we have shown that the features of the Refine internal tool Framework are useful and how simple it is. These features will shorten your development time considerably. While Refine offers you the opportunity to develop quickly, it does not limit you and gives you the opportunity to customize your project as you wish.
We saw how simple it was for Refine to include and use the Internationalization (i18n), Live Provider(Realtime) and Access Control features. You can develop more complex applications in a simple way with Refine.
With Refine react admin, you can develop any web application you want with Admin Panel, Basic Crud App or Next.js-SSR Support.
Refine offers the opportunity to develop B2B and B2C applications without any restrictions and in a fully customizable manner.